Setting up an E-Mail Address using your own domain for free with Yandex
Now, first of all I want to get something out of the way: Hosting your own mail server isn't incredibly difficult if you have the necessary server management skills and a will to learn, I even did it myself for a while until I decided I didn't use mail enough to warrant the effort! (I'll probably change my mind again in the future)
However I believe the main benefit you get with having your own mail server is the freedom you get by using your own domain name that you control, not the actual mail server itself. Anyone who has moved main E-Mail addresses in the past knows that going from bob.smith@oldandbad.com to bob.smith@new.com is a long and painful process of changing the settings on dozens of websites and then telling everyone you write with that you moved addresses.
If instead you owned bob@smith.com you would never have to worry about your old mail provider becoming evil (they probably already are) or even them closing down.
- The domain provider you used for
smith.comsucks? No problem, you can just move to another one - The mail server provider you used sucks? No problem, change your domain's MX record to a new one and move all your old mail over to it
- Want to start self-hosting a mail server instead of relying on a third party? No problem, see above.
It also looks cooler.
So something like Yandex (even though probably evil) is a great way to go from bob.smith@oldandbad.com to bob@smith.com as a first step.
Getting started
Yandex (like Gmail too, I believe, so pick your poison) offers "businesses" free E-Mail hosting on custom domains. Head over to their pricing page and pick the free tier. It'll ask you to register an account (you can change the language to English in the bottom right and you can click "I don't have a mobile phone" to sign up without a phone).
Once you're in the admin panel, click Set up E-Mail and enter your domain. You'll need to verify your ownership of the domain. To do that you can either add a DNS TXT record, add a Meta-Tag to your index.html or upload a file to your website if you're hosting one on the domain.
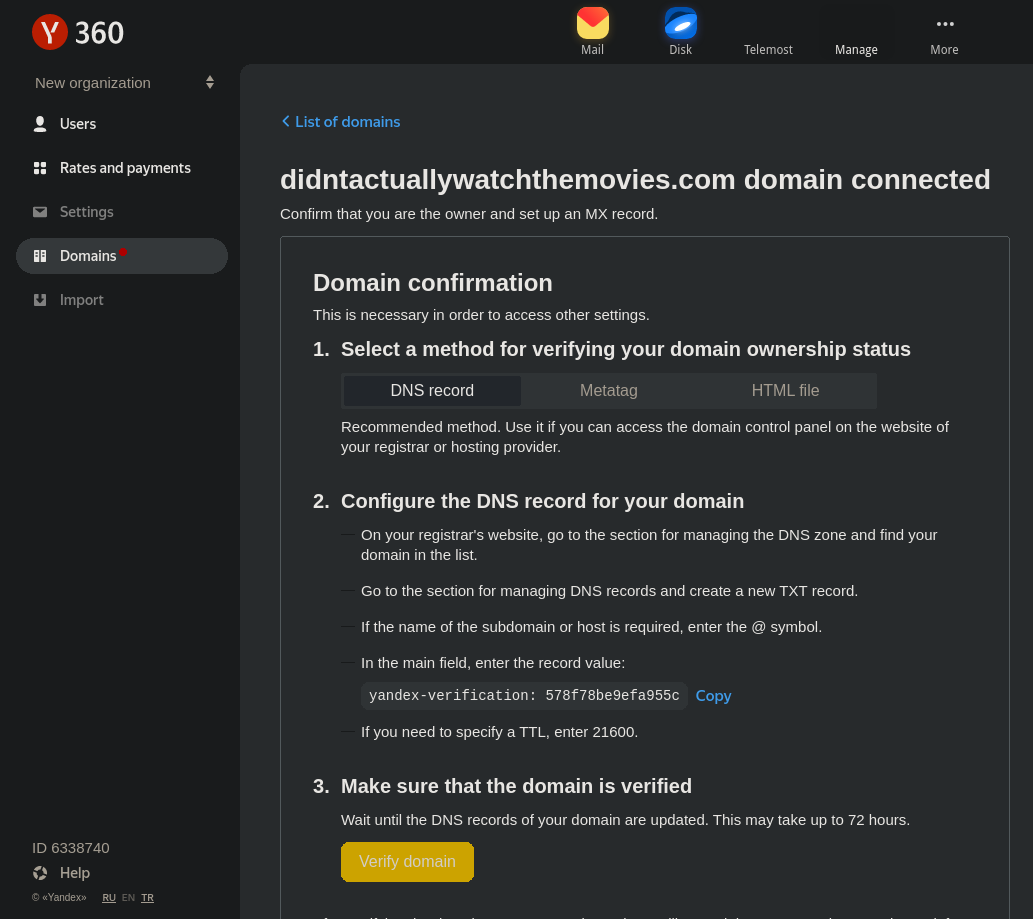
Note: When I tried verifying through file upload it didn't work because my website auto-redirects to HTTPS, you can just stop your webserver for a bit and instead run python -m http.server 80 in a directory containing the verification file for a quick fix.
Then go over to your domain provider or wherever else you're configuring DNS and add a MX record with the value of mx.yandex.net. with priority 10 to the root of your domain (@).
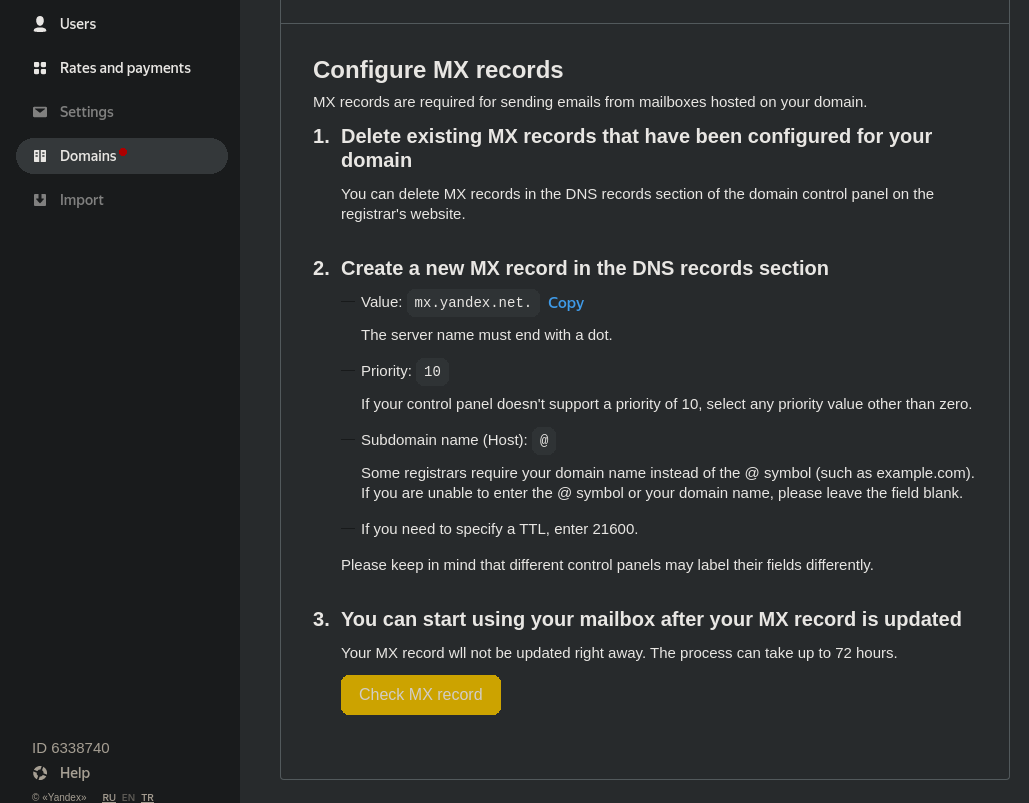
You may have to wait a few minutes to an hour for the DNS changes to propagate.
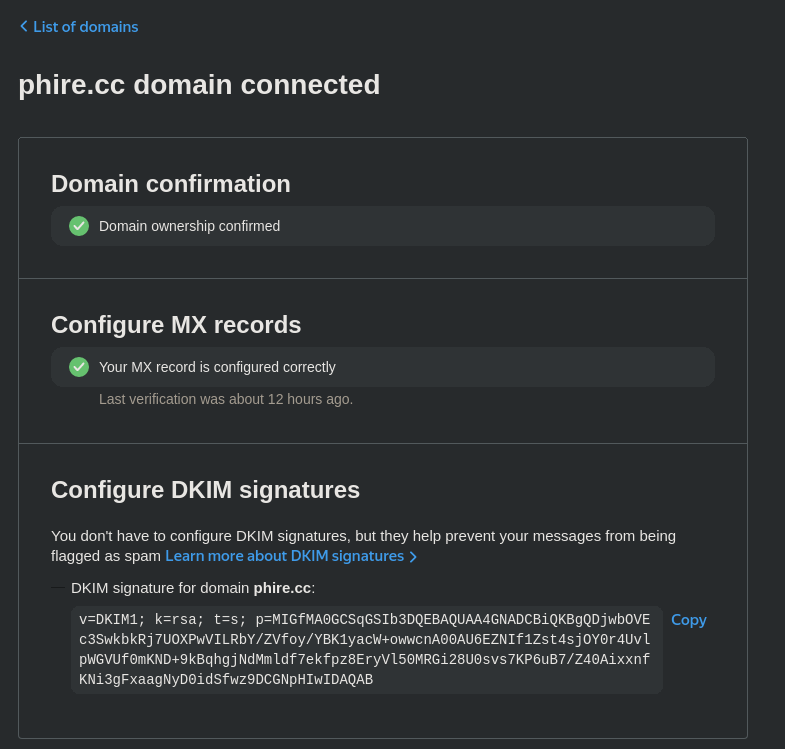
After that, add a TXT entry to configure DKIM signatues (this makes your mails not show up as spam).
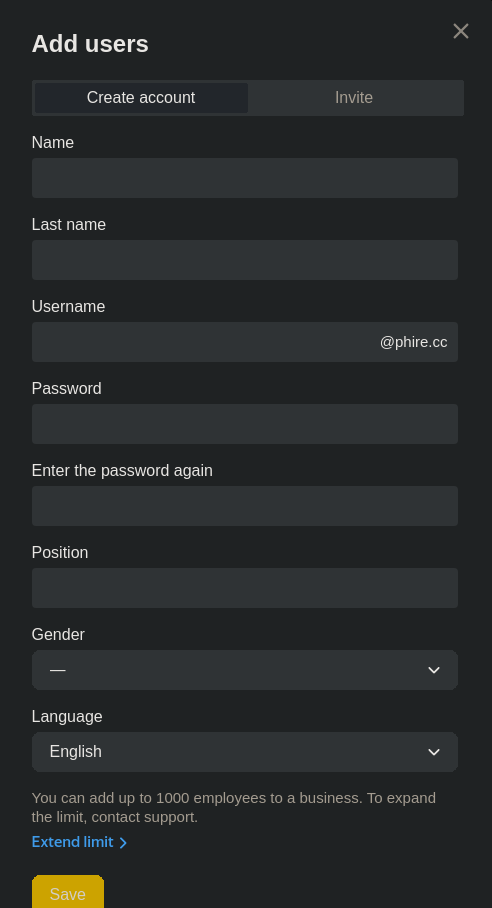
Now you can go over to the Users tab to add a user, the password you enter there will be what you login with in your mail client of choice.
You're all set up! Before you're able to login using a desktop E-Mail client, you have to log into yandex webmail with the account you just created (E-Mail is username@domain.tld and password is what you configured). Go to settings->other in the top right corner, then go to E-Mail clients and tick the Portal password box.
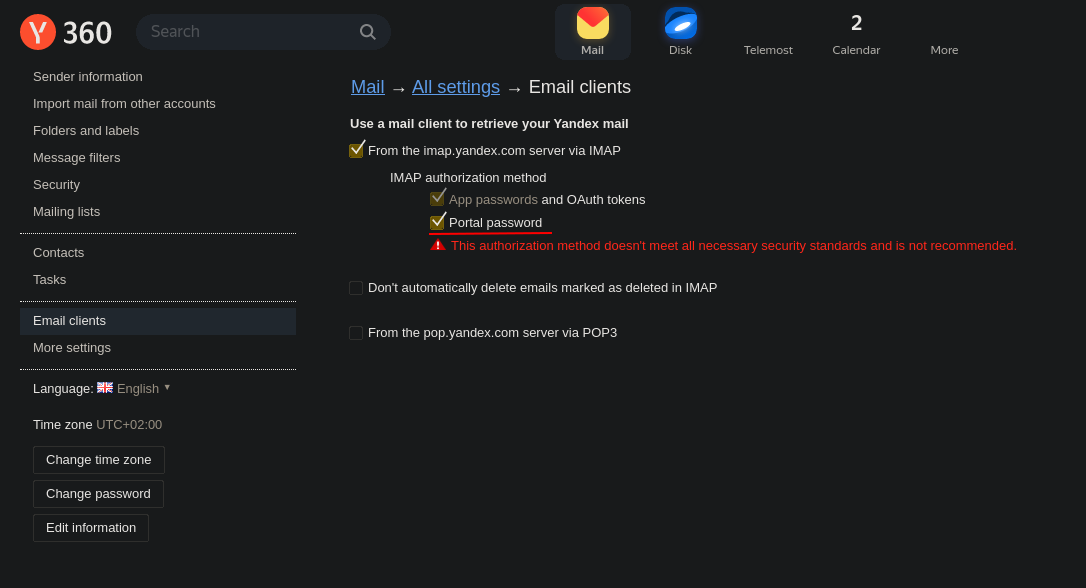
You're ready to start using your E-Mail address with your own domain!
Server credentials
Server   imap.yandex.com     smtp.yandex.com
User     username@domain.tld username@domain.tld
Password User's password     User's password
Port     993                 465
Security SSL/TLS             SSL/TLS
Note
If you aren't poor and holding onto your coins with everything you've got like me, there are a few commercial mail providers that let you use your own domain and don't seem as evil as Google or Yandex. They start at about $1 per month, you'll find plenty of them using your search engine.